본문 영역
Wordpress
The Mong9 Editor plugin for WordPress is designed for versions 4.9 and above.
The Mong9 Editor available on the WordPress official website as a plugin is from 4 years ago. Please download and install it from GitHub. We will work on registering it on the WordPress official site as soon as possible.
TIP Quick Setup Guide
- Download on Mong9 Editor for WordpressGitHub.
- Upload the
mong9-editorfolder to the~/wp-content/pluginsdirectory. - Administrator Mode > Installed Plugins > Click the Activate button for Mong9 Editor to activate it.
Screenshot of WordPress Installation

- Available for all users and admin pages.
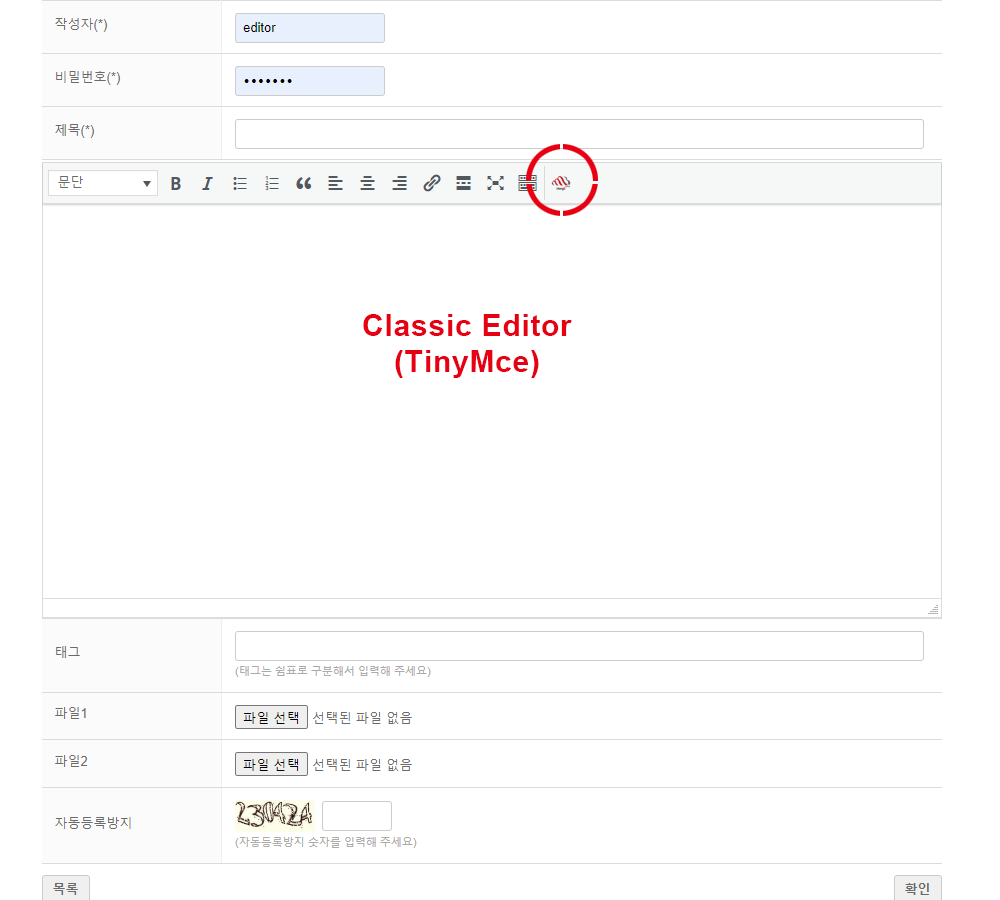
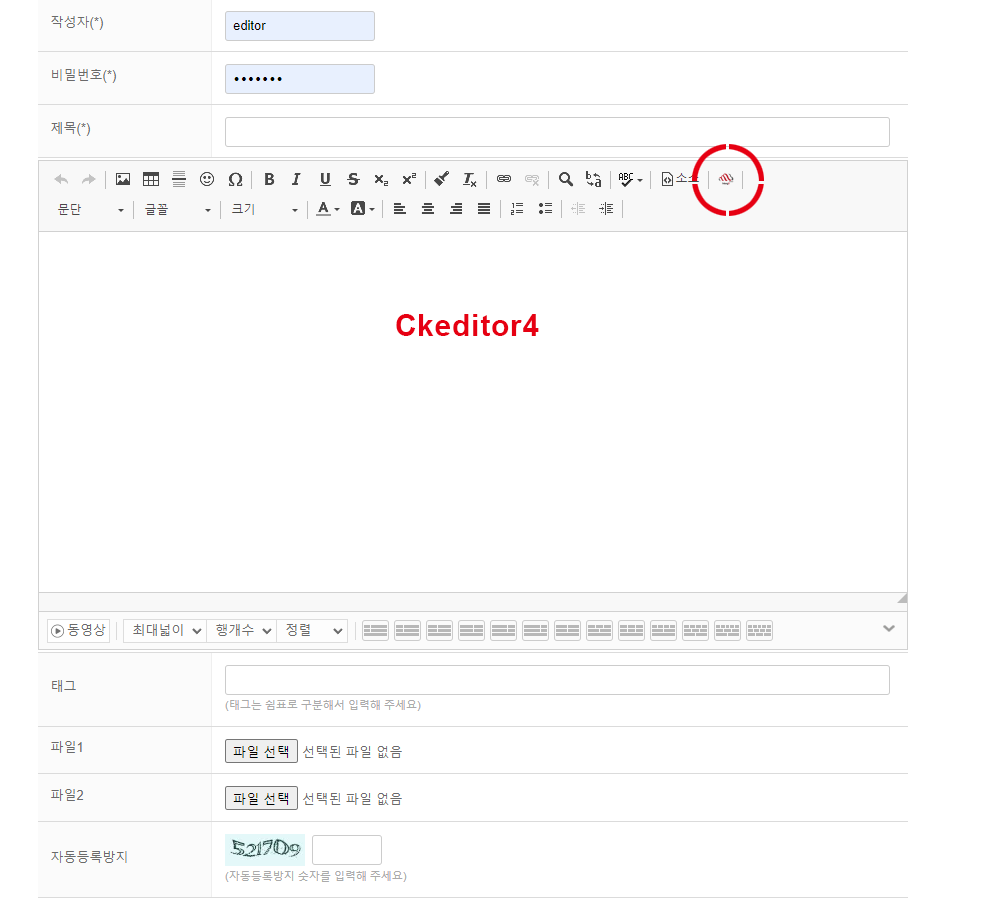
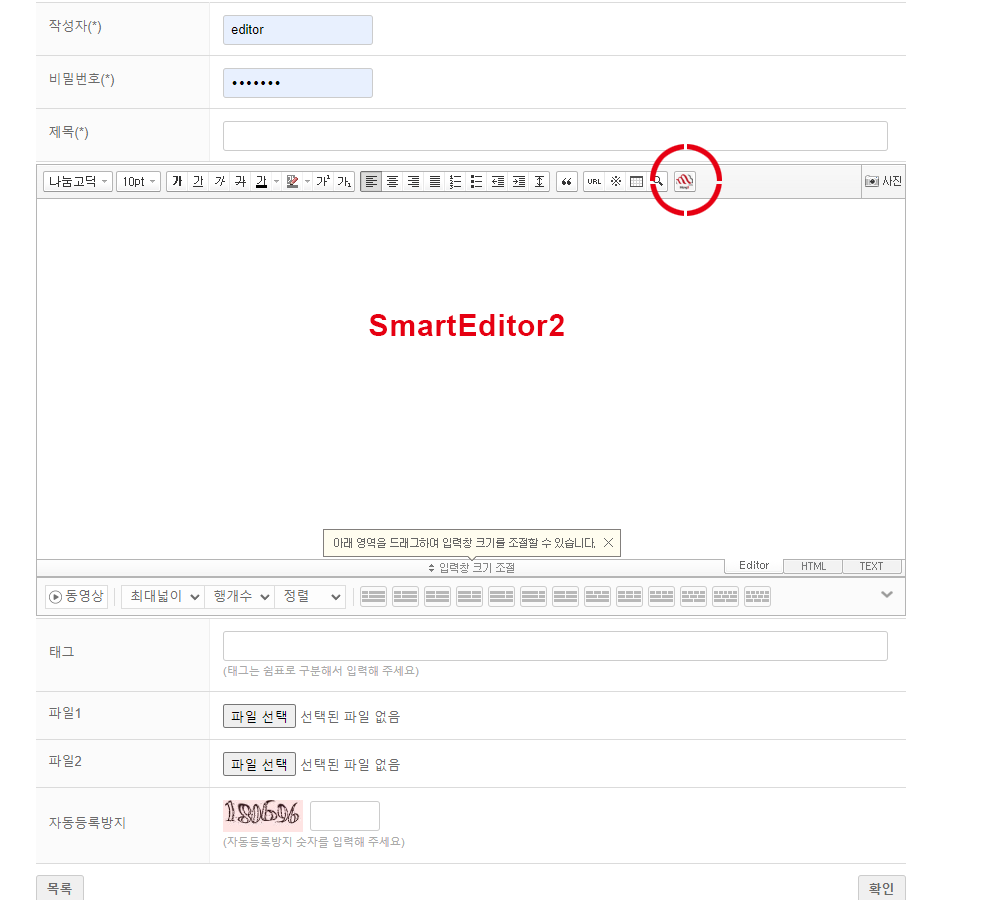
- Currently integrated with
Classic Editor(TinyMce),smarteditor2,ckeditor4. - Mong9 Editor is available only for the super administrator
Installation Guide
1. Download the Mong9 Editor plugin file, and extract it on your computer.
After extracting, a folder named wordpress-plugin-mong9-editor will be created.
Rename the folder to mong9-editor.
Connect to the server using an FTP client or any other file transfer method.
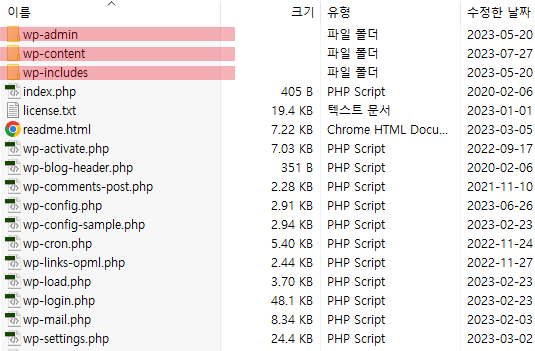
Like the picture above if you see folders like /wp-admin, /wp-content, and /wp-includes, you're in WordPress's top (root) directory.
Finding this top directory is important
3. Upload the mong9-editor folder to /wp-content/plugins.
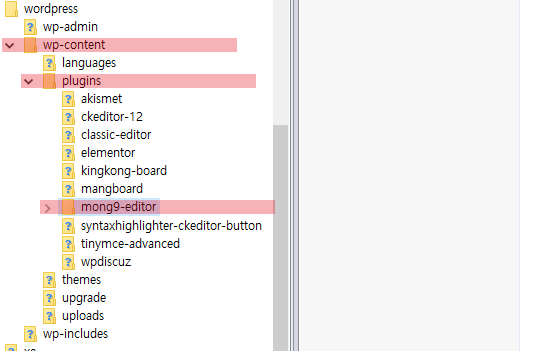
Mong9 Editor is a plugin, so upload it in the /wp-content/plugins folder.
Place the mong9-editor folder inside /wp-content/plugins, like in the image above.
4. Activate Mong9 Editor

- Login to your WordPress site and access the admin page (
domain/wp-admin) - Go to Installed Plugins in the left menu
- Click the Activate button to complete the installation.
You can enable/disable it on the Installed Plugins page.